Configuring a Micron Bolt Mini-2 GPS tracker
Published by Beto Dealmeida on
How I found a GPS tracker in my car and reconfigured it to send data to my server
Back in 2020 I left San Francisco and rented a ranch house in Sonoma county together with my partner, Kim. We wanted to move to a remote place because of the COVID pandemic, and the place she found for us was perfect: 40 acres of land between Sonoma and Marin counties, with a renovated house that was mostly surrounded by trees — the exception being the view of the Estero Americano estuary.
I didn't have a car in San Francisco; I remember hearing about a research from Lyft saying that 95% of the rides inside of the city were faster on an electric bike than by car, and that's what I did. But moving into a rural area I knew I needed a car, so I bought a 2010 RAV4.
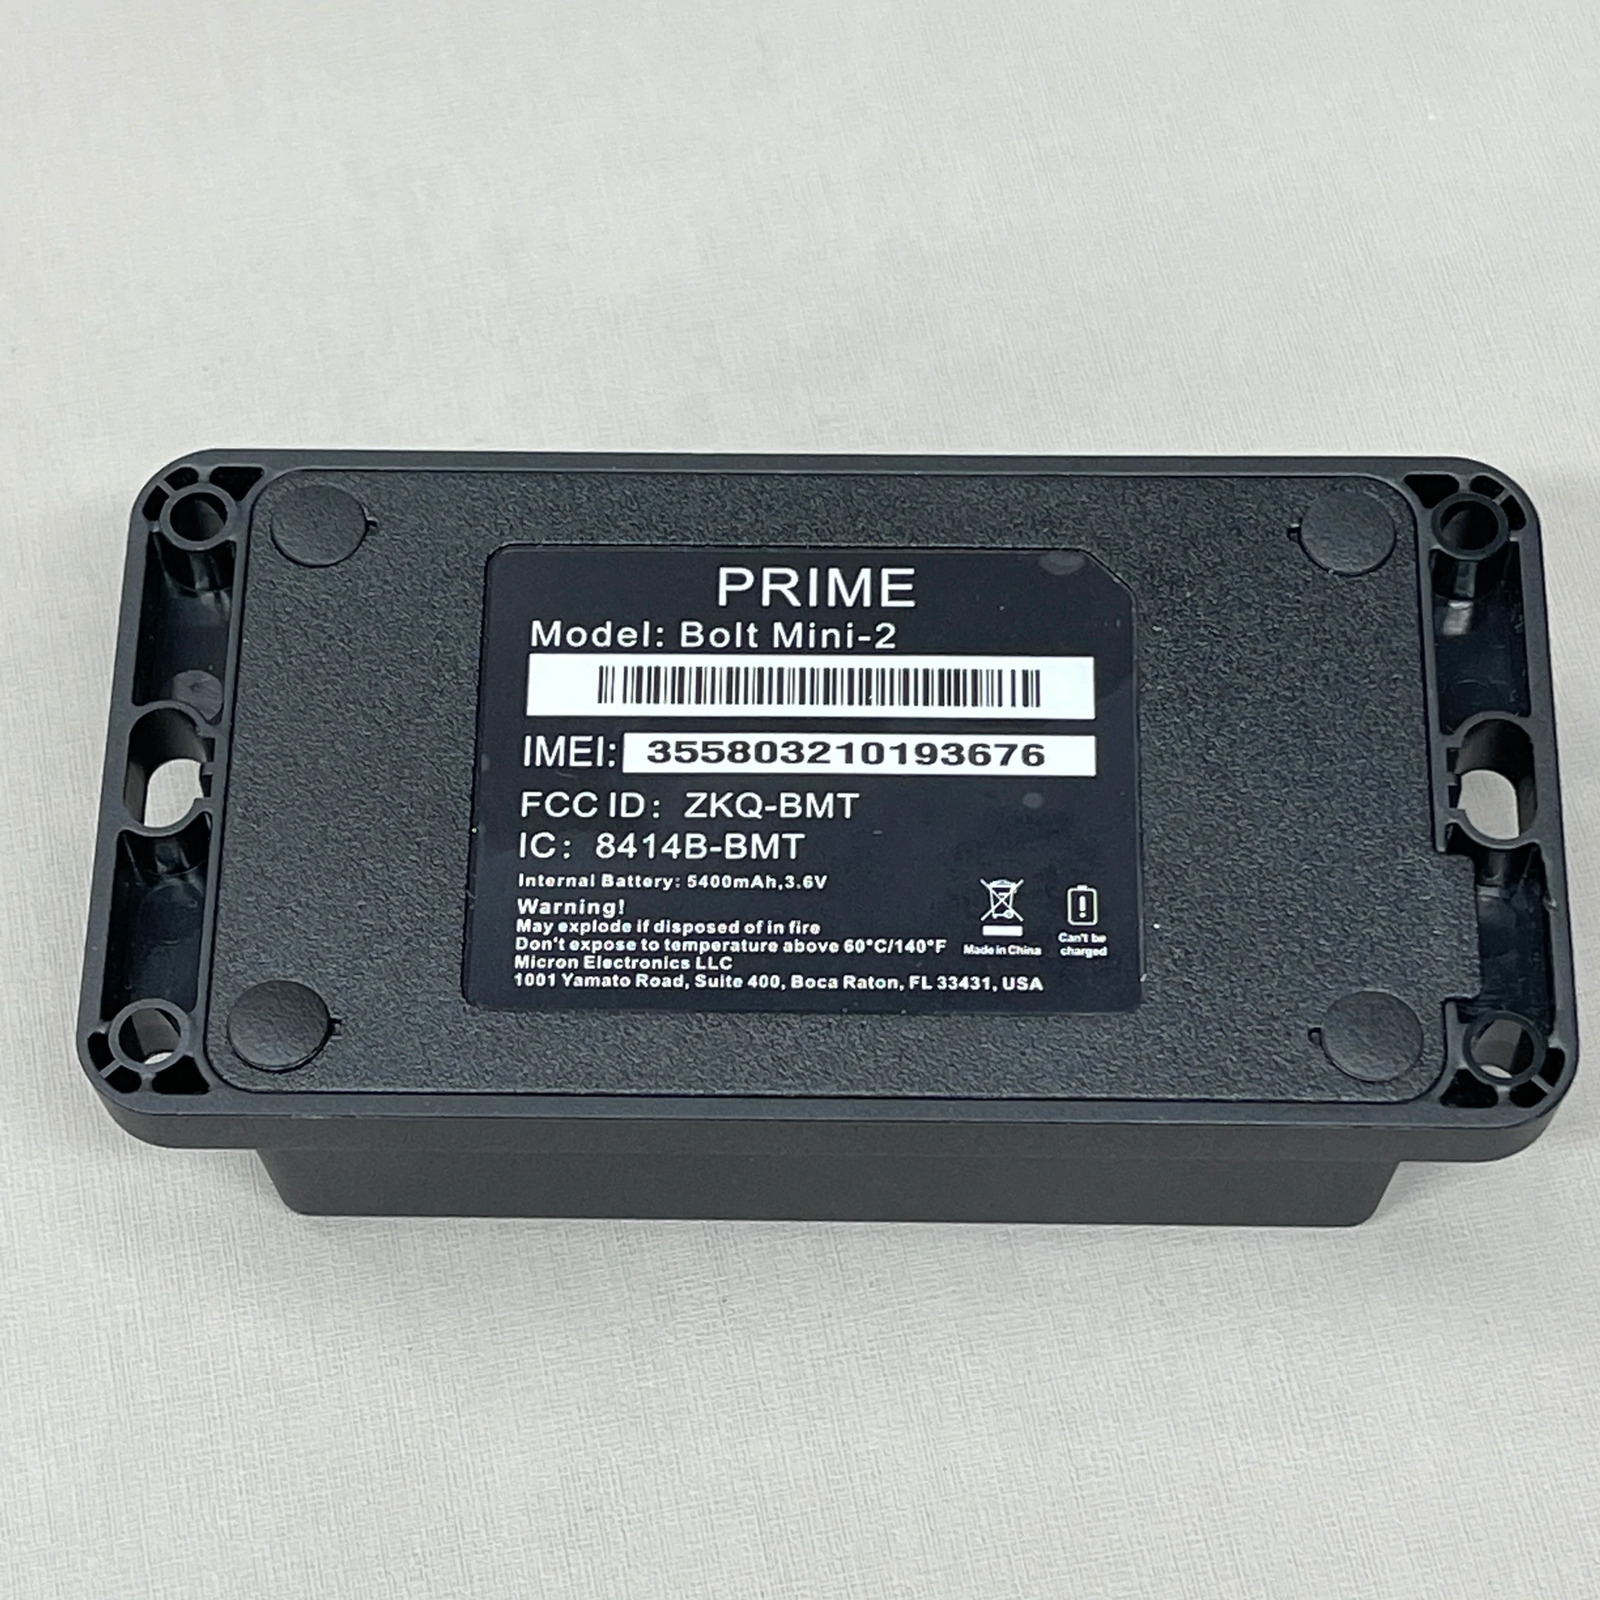
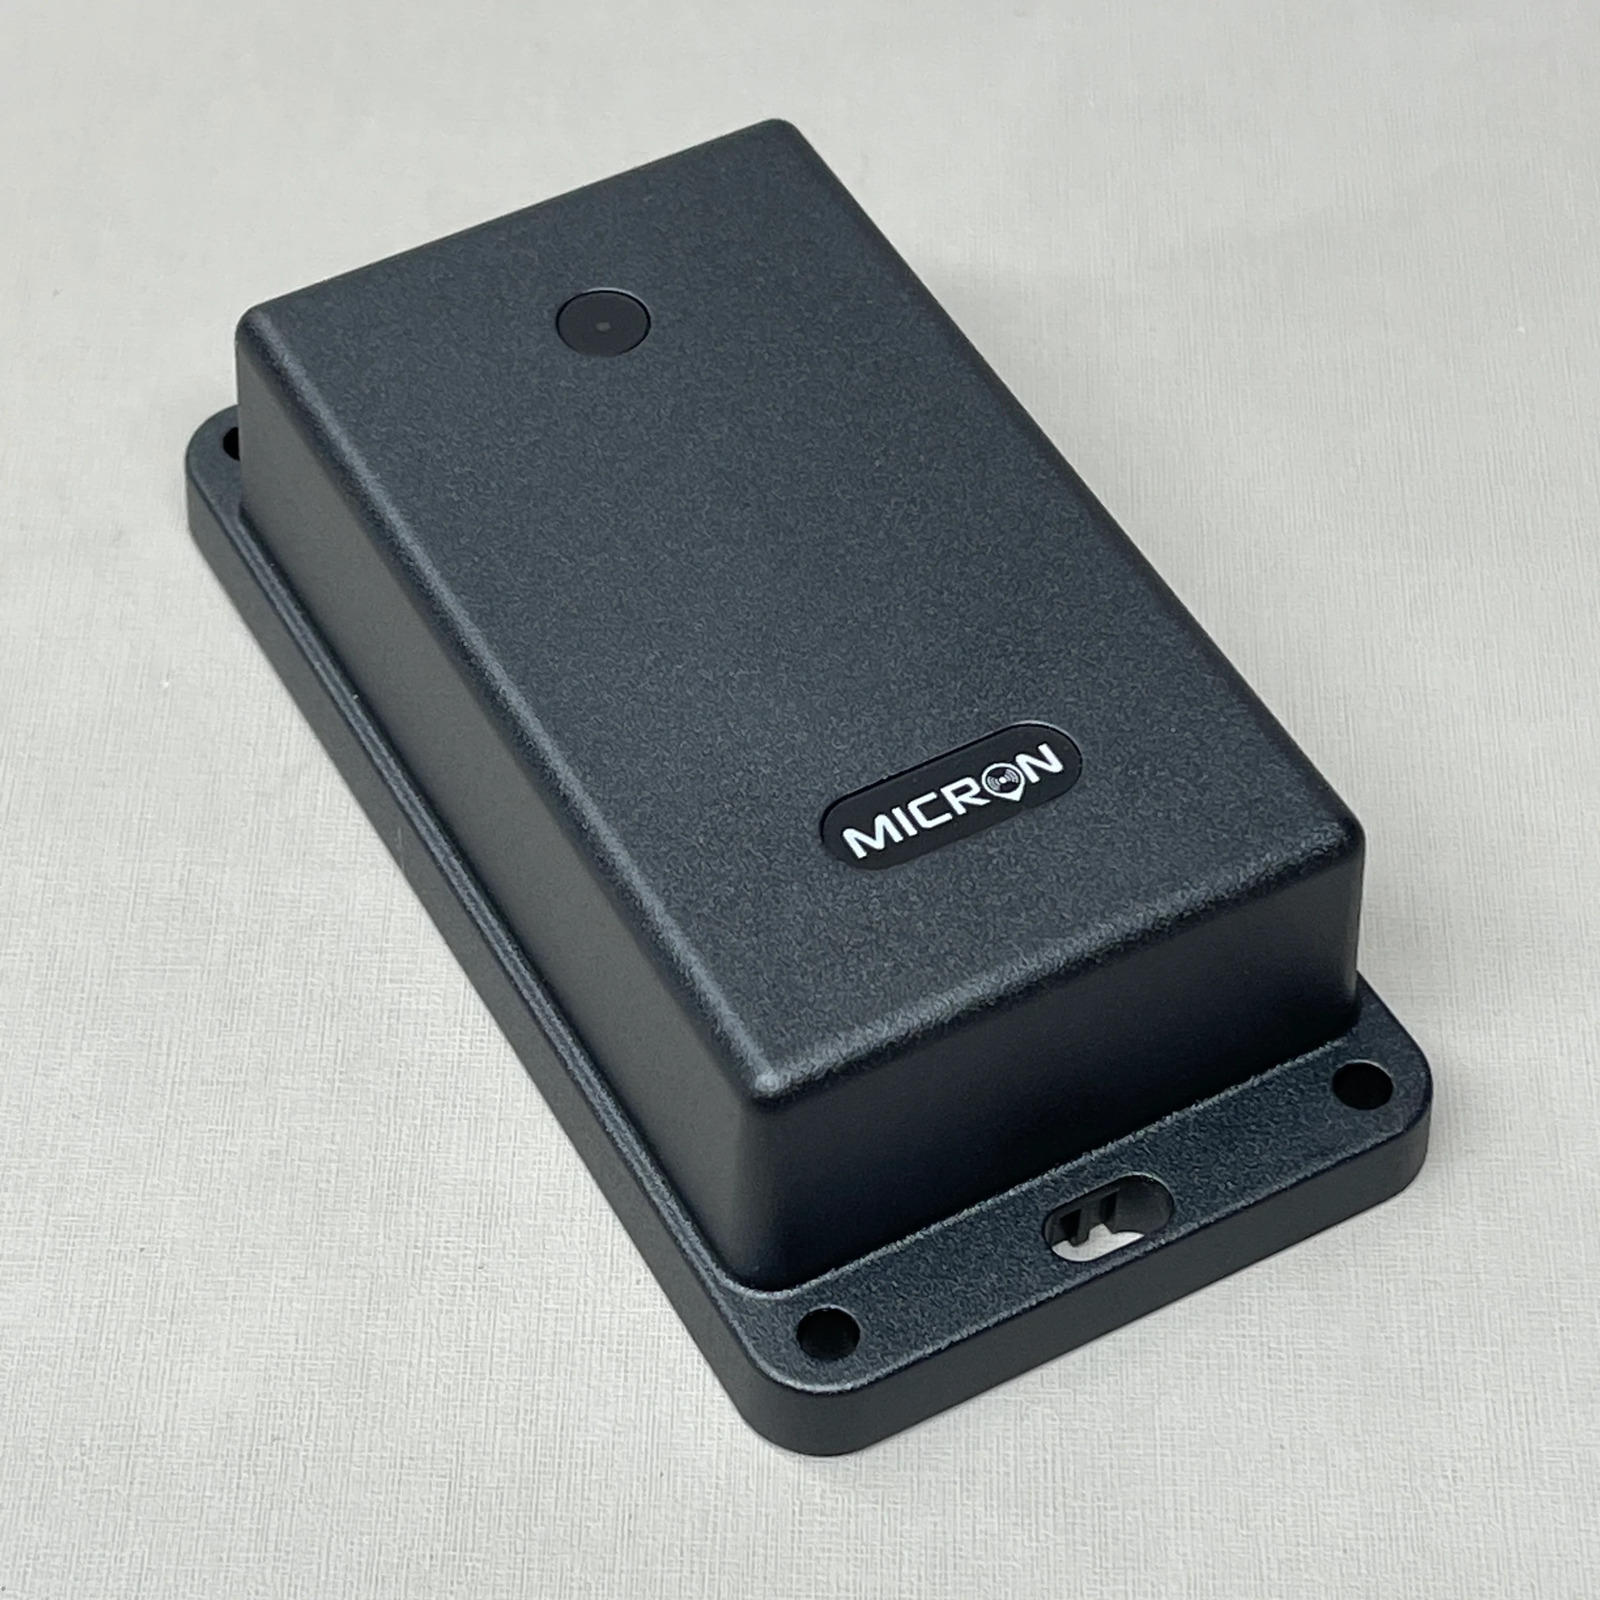
The car had 3 owners before me, and one day I discovered one of them left behind a hidden GPS tracker:
![]()
![]()
As soon as I found it I was excited to put it back to work. I searched for documentation online, but couldn't find anything because this tracker is not a consumer product. I also emailed the tracker manufacturer asking for documentation on the unit, but they never got back to me. As a last resource I opened the device and tried plugging it into my computer via USB, but no device was identified, so I stored in the basement and forgot about it.
Now that I bought an RV, a 36' long class-A, I decided to give it another try in getting the tracker working. It would be much cheaper and easier for me to just buy a consumer tracker, but I would hate to waste a perfectly good product that I already had at home. I also wanted to control my data, and it would be easier to do that with the Bolt Mini-2 instead of with a consumer product which usually requires a subscription and requires me to install yet another app in my phone.
I did some more research, and discovered Traccar, an open-source GPS tracking platform. On their website I learned that I could interact with my tracker via SMS (good), that there were many different protocols on the market (bad), and that my tracker was not supported (ugly). It would also very likely require a password to configure the device, which I didn't have.
Doing some more research I discovered a commercial GPS tracking platform that supported the Bolt Mini-2. I signed up for a 14 day trial, and tried to add my tracker: they asked for model, which was in their supported list, the IMEI, and the phone number of the SIM card in the device.
I went through the process of adding the tracker, but instead of putting the number of the SIM card in the GPS I used my own phone number. And as soon as I activated it I got a message:
AT+GTQSS=AIR11,h2g2,,,4,,1,tracker.us.navixy.com,47764,13.52.37.2,47764,+12162780905,10,1,,,0001$
A-ha! This gave me a lot of information. I searched online for the AT+GTQSS command, and found an explanation of what it means. The protocol used by the Bolt Mini-2 seemed to be a variant of the gl200 protocol. In the command above, AIR11 is the (default?) password of my device, and h2g2 is the APN that I had provided when adding the tracker. More importantly, the command tells the tracker to send UDP (4) packages to the server tracker.us.navixy.com:47764 (falling back to 13.52.37.2:47764), and send a heartbeat message every 10 minutes.
I ordered a cheap SIM card with a $5/month plan and sent a slightly modified command to my tracker, configuring it to send the messages to my server. I then created a very simply UDP server that simply printed all the messages it received:
import socket

UDP_IP = "0.0.0.0"
UDP_PORT = 5000

sock = socket.socket(socket.AF_INET, socket.SOCK_DGRAM)
sock.bind((UDP_IP, UDP_PORT))

while True:
    data, addr = sock.recvfrom(1024)
    message = data.decode()
    print(f"received message: {message}")
    sock.sendto(b"Hello!", addr)
After a while, I started receiving messages from the tracker! Unfortunately the messages didn't make sense to me. They all looked exactly like this:
+BUFF:GTINF,423136,352009117419957,,42,8901240204119593571,20,4,0,,,,0,1,1,0,0,20230413182059,84,,,,,20230413182742,0122$
All the messages were identical, the only difference is that every 10 minutes I'd get a heartbeat ping:
+ACK:GTHBD,423136,352009117419957,,20230413183607,0109$
The heartbeat messages were slightly different from each other: the number at the end would increase every time: 0108, 0109, 010A, etc. But the BUFF:GTINF messages all had the same ending of 0122. They also didn't contain any information about location, so they were useless to me. I spent a whole day sending different commands to the tracker, trying to make it send me a report of its position, but nothing worked.
I re-read all the docs I had found about GPS trackers, and I eventually figured it out! When the tracker is in UDP mode it's recommended to enable the heartbeat (which was happening every 10 minutes) and to also have the tracker expect an acknowledgment from the server! The end of the configuration command (AT+GTQSS) has:
+12162780905,10,1,,,0001$
The first element is the number of the SMS gateway, the second one is the number of minutes between heartbeats (10), and third one tells the tracker to wait for confirmation from the backend. So I modified my script a little bit:
import socket

UDP_IP = "0.0.0.0"
UDP_PORT = 5000

sock = socket.socket(socket.AF_INET, socket.SOCK_DGRAM)
sock.bind((UDP_IP, UDP_PORT))

while True:
    data, addr = sock.recvfrom(1024) # buffer size is 1024 bytes
    message = data.decode()

    if message.startswith("+ACK:GTHBD"):
        # heartbeat response
        parts = message.split(',')
        protocol = parts[1]
        count = parts[5].rstrip('$')
        reply = f'+SACK:GTHBD,{protocol},{count}$\r\n'
    else:
        # acknowledge packets
        parts = message.split(',')
        count = parts[-1].rstrip('$')
        reply = f'+SACK:{count}$\r\n'

    print(f"received message: {message}")

    sock.sendto(reply.encode(), addr)
With this, the tracker started sending new messages, each one with an increasing identifier. These were all messages that were buffered in the tracker. With the correct protocol, I started getting messages that were more interesting... yet, they didn't have anything that looked like coordinates. The new messages looked like this:
+BUFF:GTWIF,423136,352009117419957,,2,cc40d07349b2,-73,,,,ecc302e1eb84,-67,,,,,,,,79,20230414161214,0248$
Looking at the source code for Traccar I realized these were wifi networks! Here the tracker is advertising that it can see 2 wifi networks: cc40d07349b2 (CC:40:D0:73:49:B2), with a signal strength of -73 dB, and ecc302e1eb84, with -67 dB. Using the Google geolocation API I was able to convert these messages into approximate coordinates, which is really cool. But I really wanted some old school latitude/longitude pairs.
Eventually, going back to the documentation for the gl200 protocol, I figured out the command to get periodic reports:
AT+GTFRI=AIR11,1,1,,,0000,2359,86400,1,86400,1,001F,1000,1000,,,,,,,0450$
With this, I started getting new messages that had latitude, longitude, altitude, and more. In theory this should make the tracker reports its position once per day (86400 seconds), but for some reason that I haven't figured out yet the messages arrive every 15 minutes or so.
My end goal was to have the UDP server posting the positions to my message queue, so that I could see the position of the tracker on my phone using the Owntracks open-source mobile tracker app. In order to do that, I used an application that I wrote for Señor Octopus, my own home automation system. Señor Octopus is a lightweight (an open source!) alternative to IFTT. This is how my configuration looks like:
tracker:
  plugin: source.udp
  flow: -> owntracks
  host: 0.0.0.0
  port: 5000
  protocol: micron_bolt_mini_2
  api_key: GOOGLE_API_KEY

owntracks:
  flow: tracker -> owntracks-deserializer
  plugin: filter.jinja
  template: |
    _type: location
    {% if event.value.accuracy %}
    acc: {{ int(event.value.accuracy) }}
    {% endif %}
    {% if event.value.altitude %}
    alt: {{ int(event.value.altitude) }}
    {% endif %}
    batt: {{ int(event.value.battery) }}
    bs: 1
    conn: m
    created_at: {{ int(event.value.send_time.timestamp()) }}
    lat: {{ event.value.latitude }}
    lon: {{ event.value.longitude }}
    m: 1
    t: t
    tid: MT
    {% if event.value.fix_time %}
    tst: {{ int(event.value.fix_time.timestamp()) }}
    {% endif %}
    vac: 0
    {% if event.value.speed %}
    vel: {{ int(event.value.speed) }}
    {% endif %}

owntracks-deserializer:
  flow: owntracks -> mqtt-serializer
  plugin: filter.deserialize
  format: YAML

mqtt-serializer:
  flow: owntracks-deserializer -> mqtt-sink
  plugin: filter.serialize
  format: JSON

mqtt-sink:
  flow: mqtt-serializer ->
  plugin: sink.mqtt
  topic: owntracks/rv/tracker1
  host: localhost
  port: 1883
  username: rv
  password: MQTT_SECRET
The configuration above defines a simple pipeline:
tracker -> owntracks -> owntracks-deserializer -> mqtt-serializer -> mqtt-sink
The source, tracker, runs a UDP server on port 0.0.0.0:5000, using a custom protocol that I wrote for the tracker. It emits events that look like this:
{
    "accuracy": 123,
    "speed": 456,
    "azimuth": 10,
    "altitude": 20,
    "longitude": -120,
    "latitude": 38,
    "fix_time": "2023-04-01T12:00:00",
    "battery": 85,
    "send_time": "2023-04-01T12:00:05",
    "source": "gps",
}
These events are then converted to the jSON schema expected by Owntracks, through a somewhat convoluted process: generating a YAML file using Jinja2, deserializing it and serializing to JSON. The final payload is then sent to the message queue, eventually showing up in Owntracks:

Enclosures
- Photo of the back of a GPS tracker, with model name and IMEI number
- Image owntracks.png
- Photo of the front of a GPS tracker, with the Micron wordmark